How To Refinish A Butcher Block Island or Countertop

This article will guide you through the process of refinishing your butcher block island or countertop. I'll go through all the steps and show you exactly what's needed to make it look amazing. I installed a butcher block kitchen island a few years ago and maintained it with mineral oil and butcher block conditioner, but over time the top lost its sheen and became quite dirty. This article and accompanying video will detail all the steps needed to refinish your butcher block island or countertop and get it ready for finish. The process is very easy and you can do it yourself with minimal tools.
Before we get into the project, make sure to follow me on YouTube, Facebook, Instagram, and TikTok to keep up with all my latest projects!
What You Need
Tools
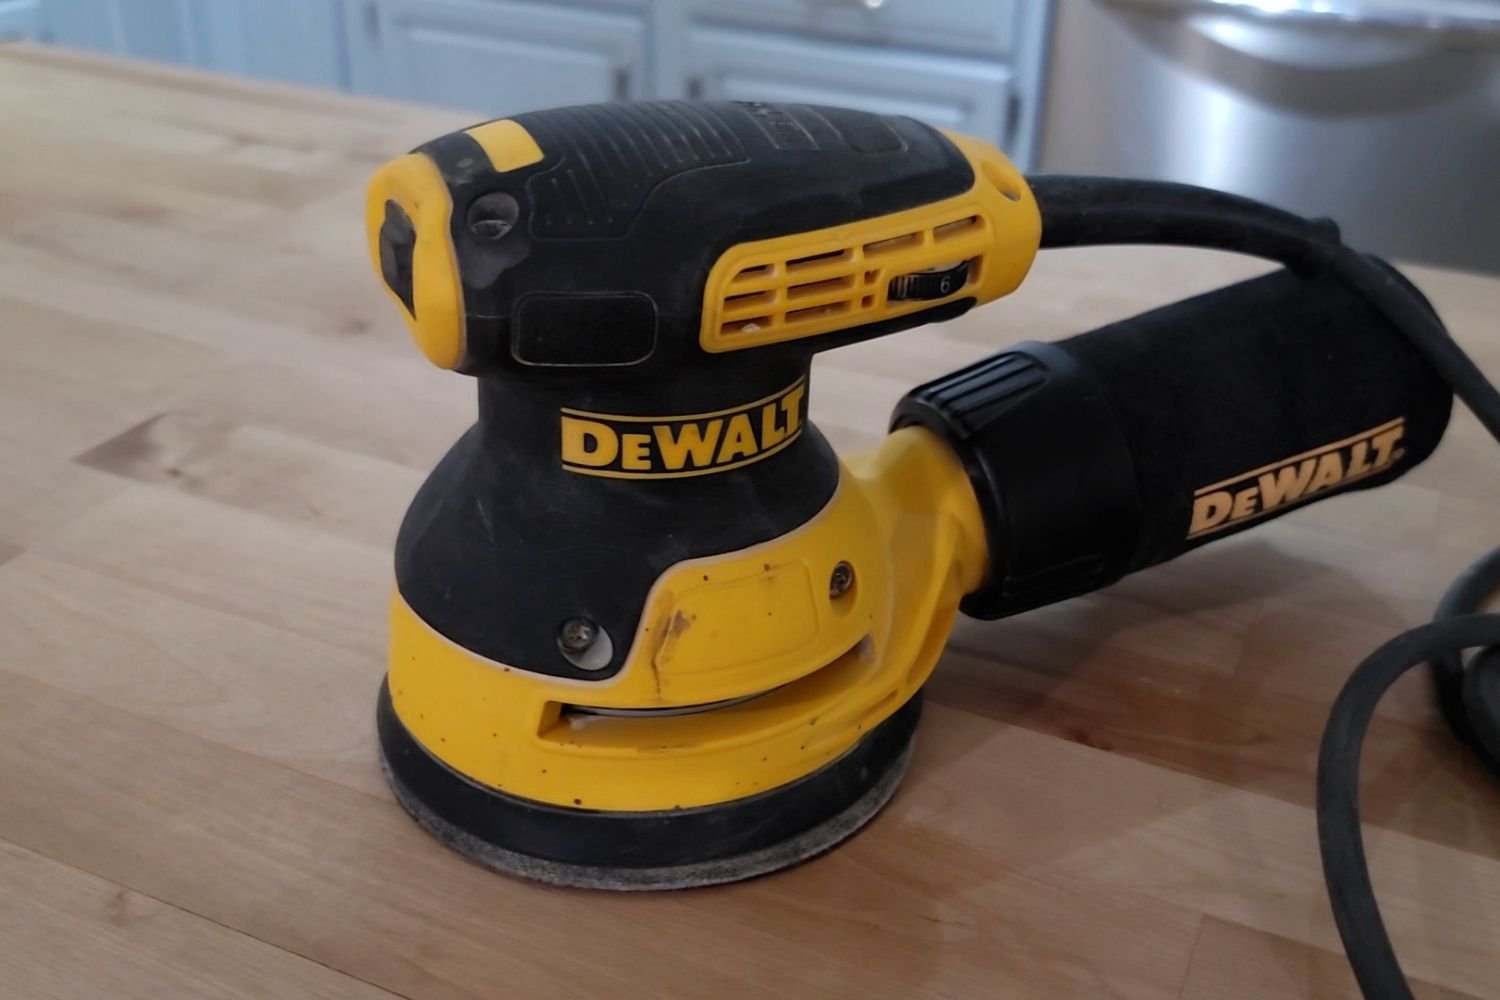
Random Orbital Sander
Shop-Vac or Dust Extractor
Optional: Router
Materials/Supplies
Sanding Disks
Tack Cloth
Your Choice of Finish
CHECK OUT THIS PROJECT ON YOUTUBE
Project steps
Tools & Setup
Sanding Process
Finish Sanding
Edge Profile
Surface Prep For Finish
Butcher Block Finish
1. Tools & Setup
For this project, you're only going to need one tool and that is a random orbital sander. If you're going to do this indoors, I would highly recommend hooking up a shop vac or a dust extractor. That way, your house isn't filled with dust. If you don't have one of those you can easily take this outside, set it up on some sawhorses and it will work just fine. The same paper you're going to want to start with is 80 grit, and that will take your butcher block down to raw wood and remove any kind of stains, blemishes or any imperfections.
2. Sanding Process
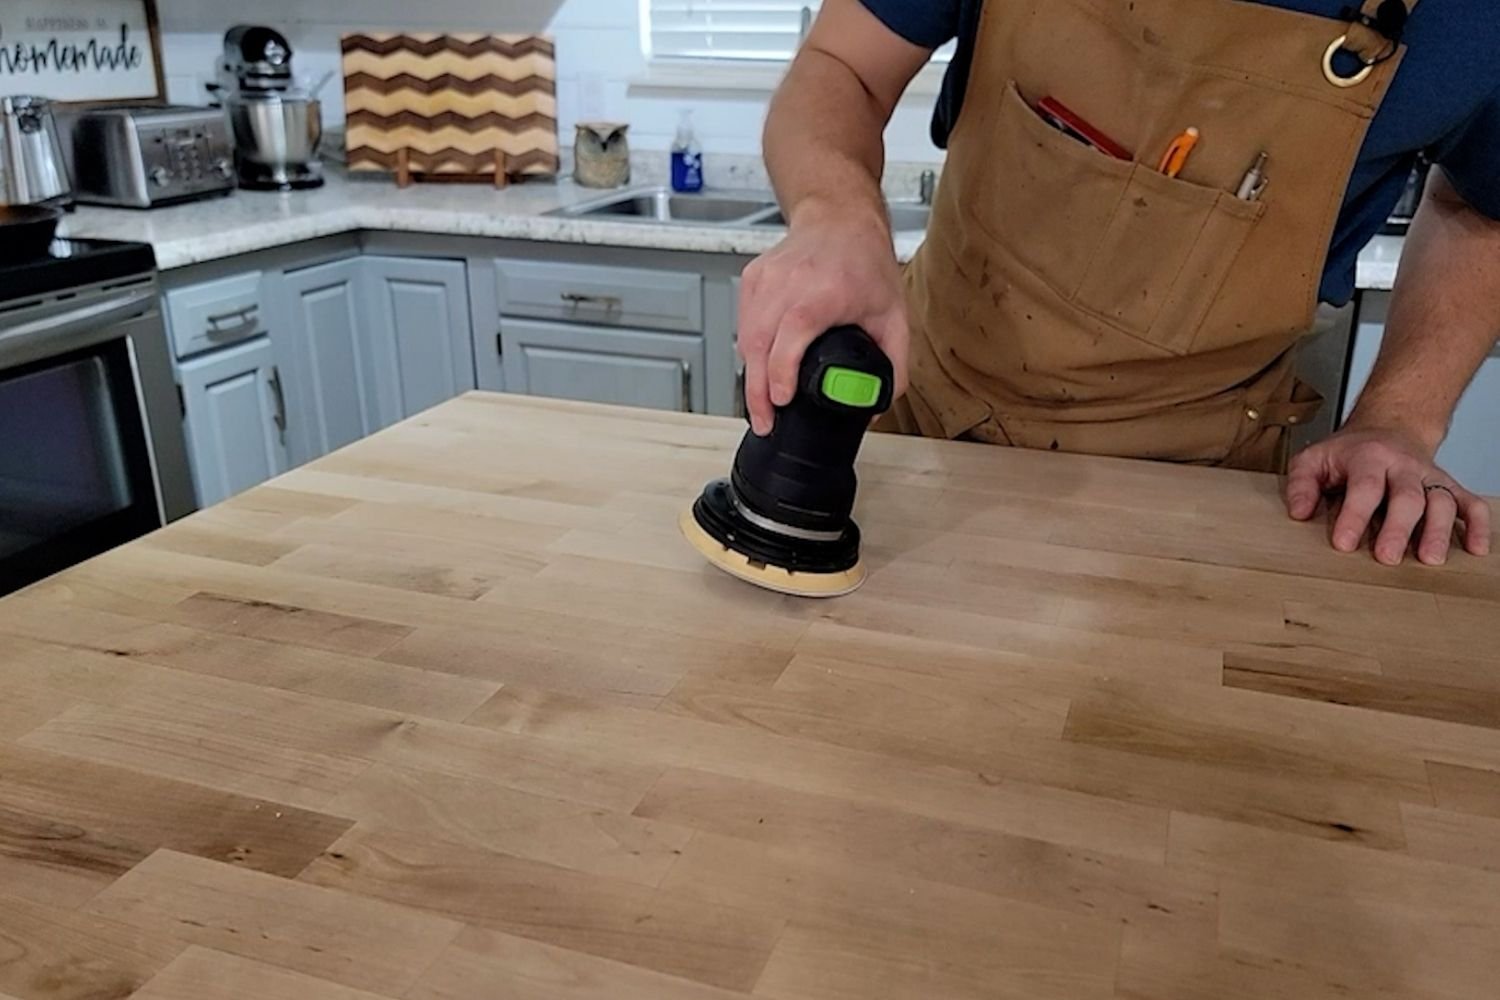
When you're sanding your butcher block, island or countertop. There's a few things you need to watch out for. The first is how much pressure you're applying to your sander. It's going to do the majority of the work for you. So I would recommend just a slight pressure on your sander just to keep it flat on the work surface.

That leads me into my next tip. Don't tilt your sander from side to side. Make sure you're keeping it flat because when you do tilt it, you're going to leave some very deep scratches, that you're not going to be able to get out.
If you notice that, you're not making much progress. Go ahead and swap out your sanding disk. It may not seem like there's a big difference, but there definitely is. And you'll be able to sand a lot faster.

Also, if you're working on a big project plan to go through quite a few sanding disks, these things tend to get gummed up pretty quick.
Another tip to make your finish just a little bit better is when you're sanding, to sand along the grain of the wood. That way, if your sander does leave any scratches that it does blend in with the grain of the wood and you won't notice it when you're finished.

3. Finish Sanding
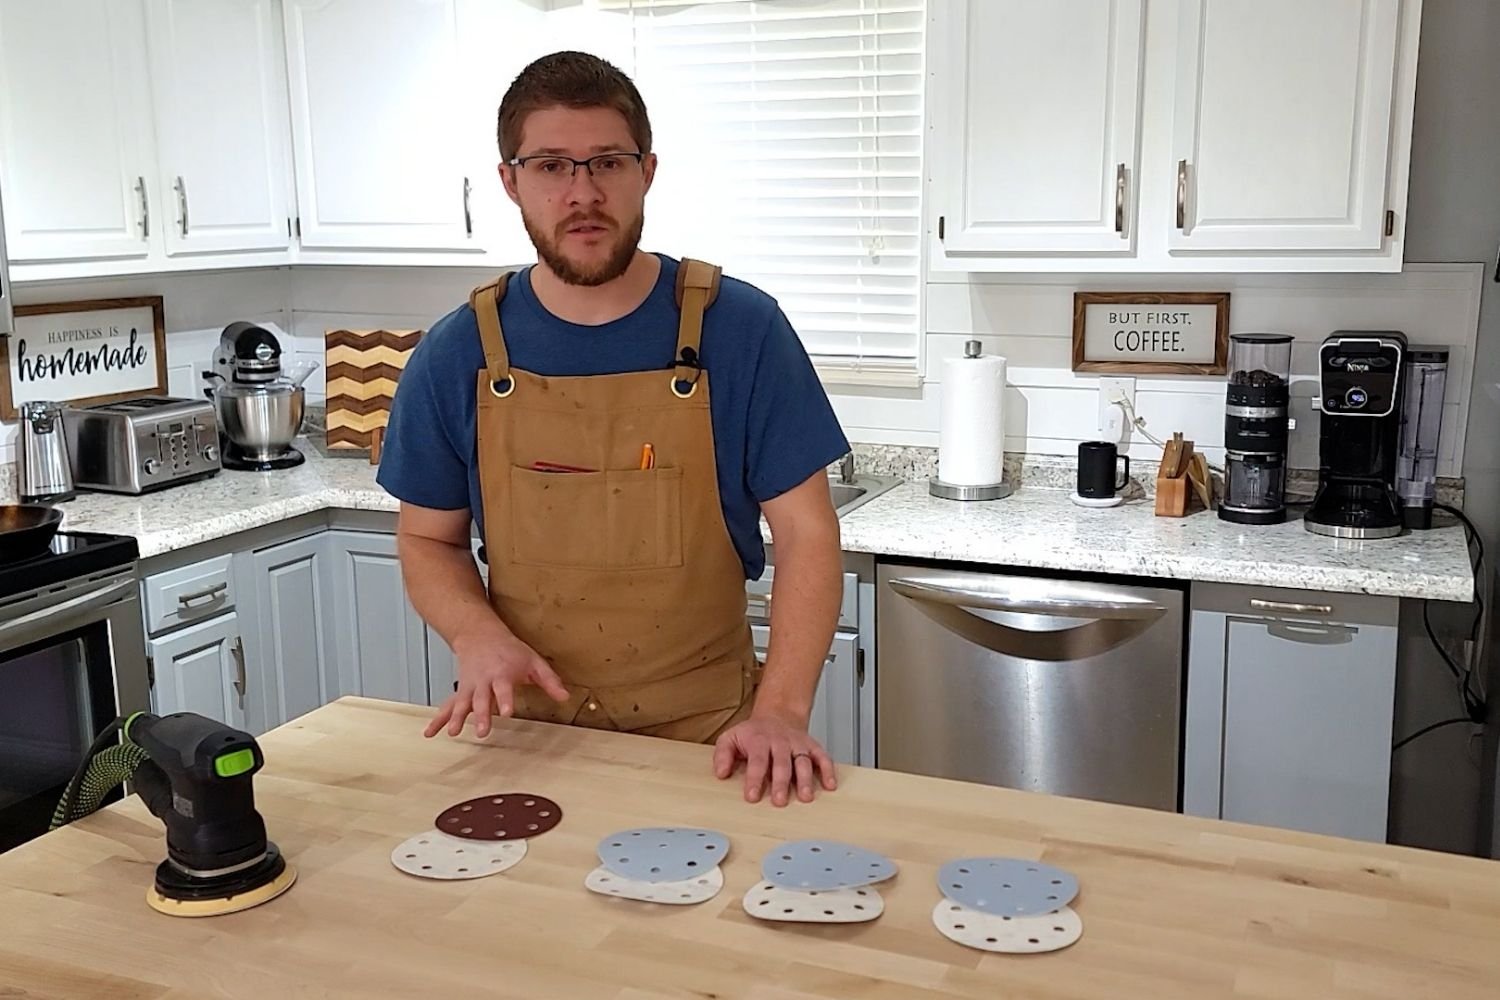
Now that we sanded the butcher block to raw wood, removing any of the blemishes or imperfections, we can start sending it to a nice smooth finish and the way that you do that is you sand progressively through the different grits of sandpaper. We started with 80 grit, which is good to get to the raw wood. Next, we'll do 120, then 180 and then finish up with 220 grit to give us a nice smooth finish to work with.
One thing that you can do between the different grits of sandpaper is lightly mark with a pencil on your butcher block, and that'll give a good indicator of where you sanded and if you've seen it enough.

4. Edge Profile
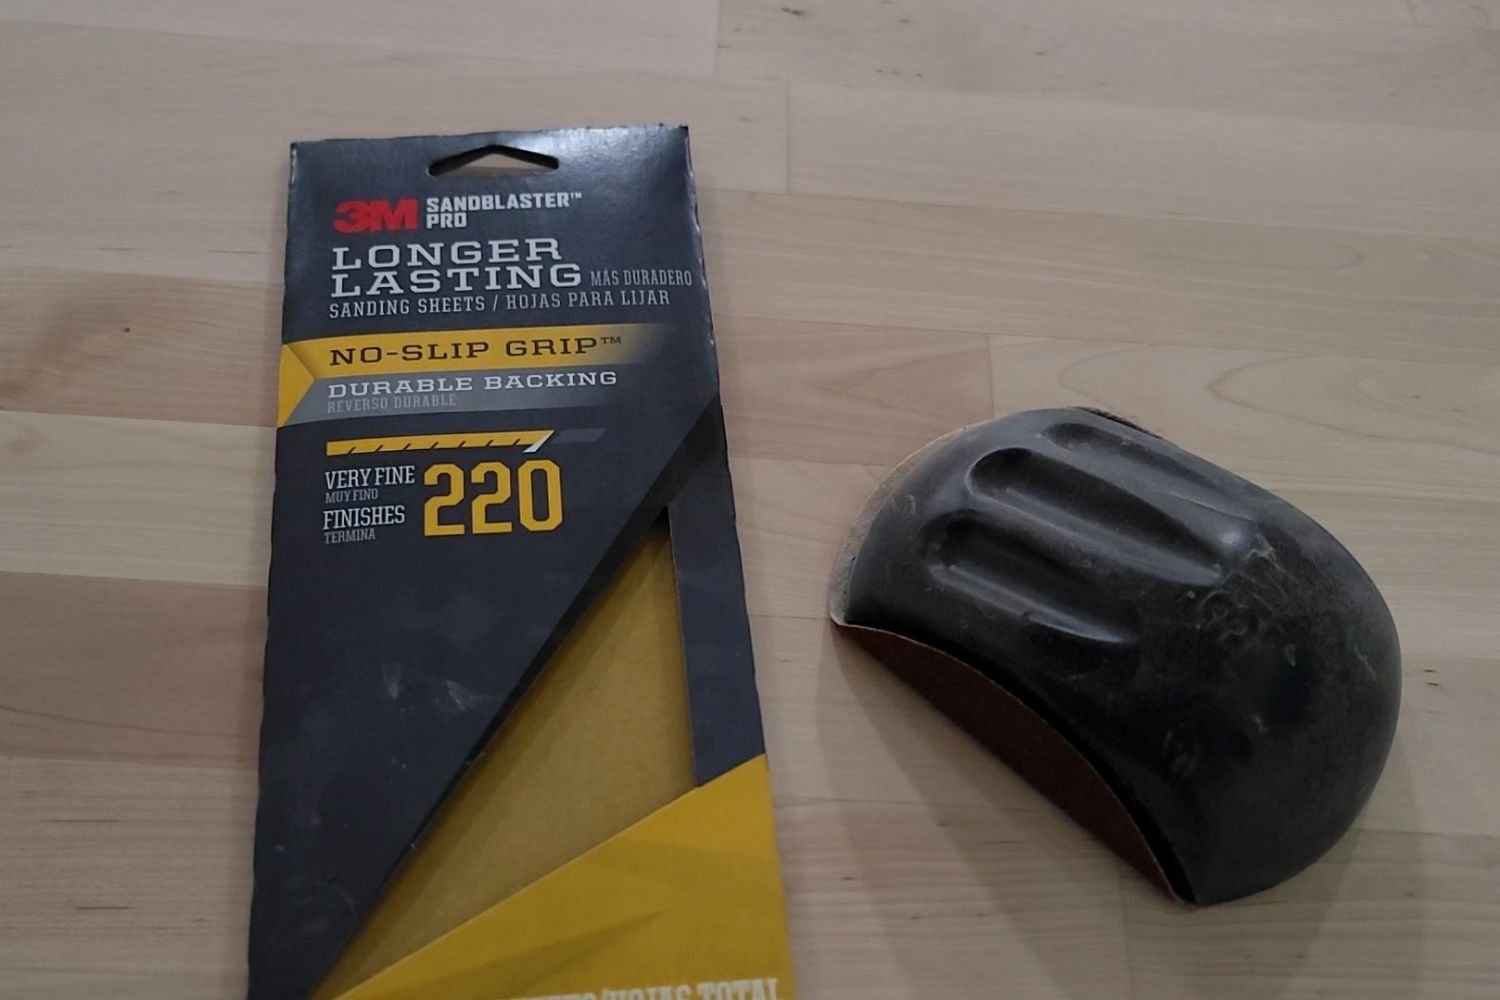
Once you have the top and the side sanded to 220 grit. The next step is working on the edges. Now here you have a few options. You can either sand them by hand using a sanding block or just some sandpaper. Or you could use a router and install a router bit to give a more decorative edge.
Also, what you could do is continue with the random orbital sander and just slowly make a round over edge. Using 220 grit, sandpaper, to me that's the easiest and quickest way to get a slight round over edge without the hassle of getting out a router and installing a bit.

5. Surface Prep For Finish
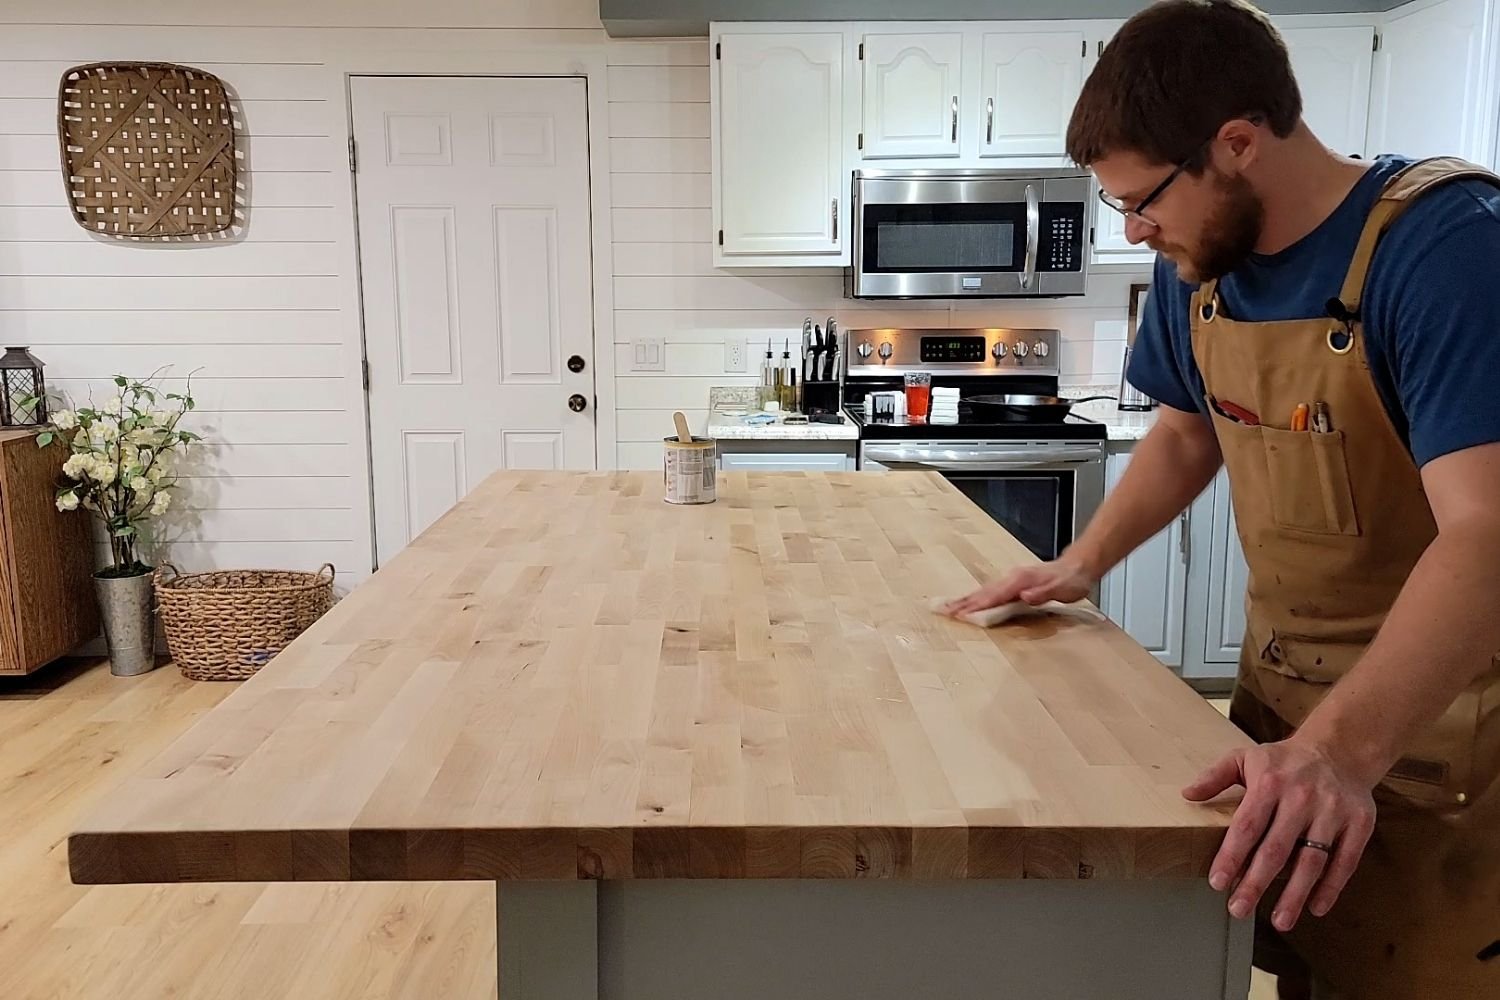
Now there we are done sanding we can prep the surface for finish. The key is going to be getting all the dust off of the butcher block. Now you can either use compressed air or in my case, since I'm inside, I'm going to be using a vacuum and a soft brush.
Once you're done sweeping up all the dust, go ahead and get a pair of gloves and a tack cloth, which you can pick up at your local hardware store. And what this will do is pick up any of the fine dust particles that are still on your butcher block.


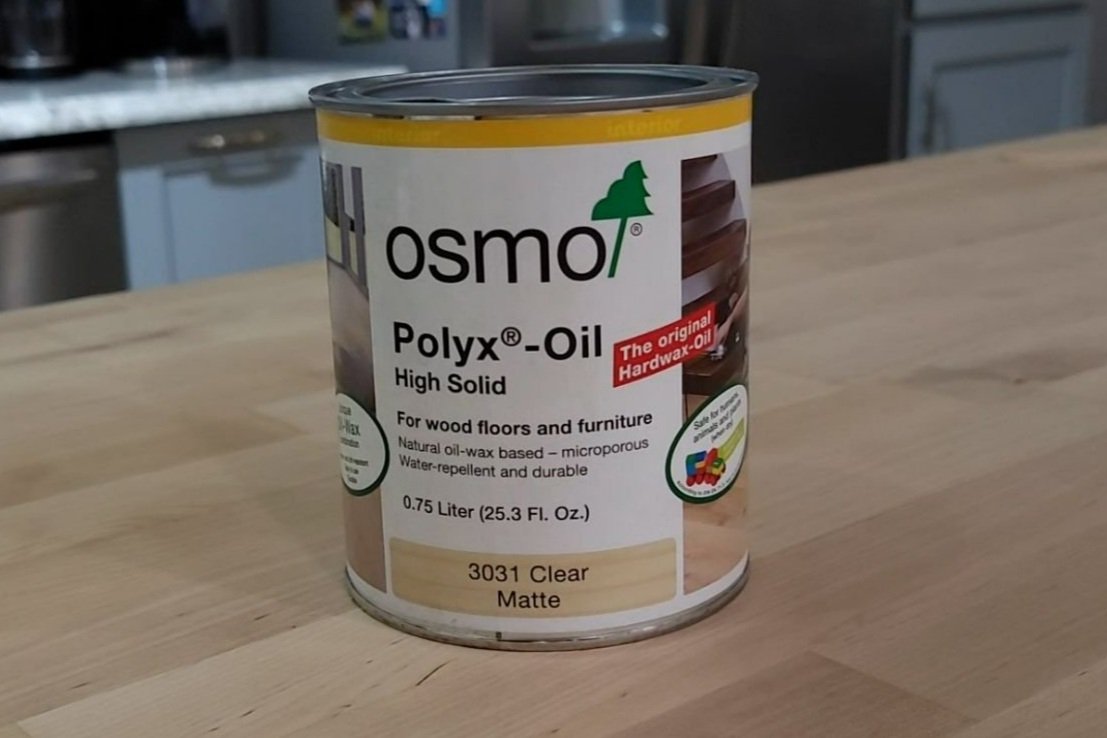
6. Butcher Block Finish
Now that the butcher block is in perfect condition, it's time to apply some finish and I'm going to be using Osmo PolyX Oil in a clear matte. It's a hard wax oil that is safe and super easy to apply while also being repairable. In the past, applying finishes has been my biggest fear, and honestly, it's held me back in a lot of projects. I have another article and accompanying video where you can learn step by step on how to apply the Osmo PolyX Oil finish. The article will help you so that you're not worried or concerned about applying it to your butcher block. So go watch that video or read the article and let me know if you have any questions.
Related Articles


If you have any questions, comment below.
Let’s talk about it!